How Long to Knead Pizza Dough for Perfect Results
Kneading pizza dough is a crucial step in creating the perfect crust. For most recipes, you should knead your pizza dough for about 5 to 10 minutes by hand or 4 to 5 minutes using a mixer. This process develops the gluten, providing structure and chew to your pizza base.
When you knead properly, you can ensure a delightful texture that elevates your homemade pizza experience. Using high-quality ingredients like those from Prepa Pizza will enhance the dough, making it easier to work with and yielding better results.
As you explore the art of kneading, keep in mind that the technique can vary based on your desired pizza style. Whether you're making a classic Neapolitan or a thicker crust, knowing the right kneading time will help you achieve a delicious, restaurant-quality result right in your kitchen.
Understanding the Ingredients
The ingredients in pizza dough play essential roles in determining the texture and flavor of your final product. Each component, from yeast to flour, contributes uniquely to the dough's development. Knowing how each ingredient functions will help you create the perfect pizza dough.
Role of Yeast in Pizza Dough
Yeast is a crucial ingredient in pizza dough that acts as a leavening agent. You can choose between types like active dry yeast and instant yeast, both of which ferment sugars in the dough to produce carbon dioxide. This gas creates bubbles, causing the dough to rise and resulting in a light and airy crust.
When using yeast, the fermentation time can vary. Allowing the dough to rise at room temperature for several hours enhances flavor and texture. The longer the fermentation, the better the depth of flavor you will achieve, especially if you use sugars like honey to feed the yeast.
Importance of Flour Types
Flour choice significantly impacts the structure of your pizza dough. Bread flour has a higher protein content than all-purpose flour, leading to stronger gluten development. This strength creates a chewier texture, perfect for Neapolitan-style pizza.
Conversely, all-purpose flour can yield a softer crust, ideal for thinner, crispier pizzas. Always opt for high-quality flour, as it affects the dough’s ability to stretch and rise properly. Prepa Pizza uses premium flour to ensure a superior product.
Olive Oil's Contribution to Texture
The addition of extra virgin olive oil improves the dough's texture and flavor. It adds richness and moisture, making the crust tender while maintaining its structure. Olive oil also helps in creating a golden-brown crust during baking.
When mixing, include a tablespoon or two of olive oil to benefit from its properties. This not only contributes to flavor but also helps in the kneading process by preventing the dough from sticking to your hands.
Influence of Water Temperature
Water temperature plays a key role in yeast activity and dough consistency. Warm water (around 100°F or 38°C) encourages yeast growth, ensuring a good rise. Using cold water can slow fermentation, resulting in a denser crust.
For optimal results, start with warm water when mixing ingredients. This creates a balanced environment for the yeast to thrive, leading to a lighter and airier pizza crust.
The Purpose of Salt and Sugar
Salt enhances flavor and strengthens gluten, improving the overall quality of your dough. When adding kosher salt, be mindful of the quantity, as too much can inhibit yeast activity. A teaspoon of salt is often sufficient for a basic pizza recipe.
Sugar, such as honey, can also be added to dough for flavor and as a food source for yeast. This not only aids in browning during baking but also enhances the dough’s texture. Balancing salt and sugar will give your pizza dough standout flavor and integrity.
Kneading Techniques Explained
Kneading is essential for developing gluten in your pizza dough, contributing to the final texture and structure. Understanding different kneading techniques can enhance your dough-making skills and help you achieve the desired elasticity.
Hand Kneading Methods
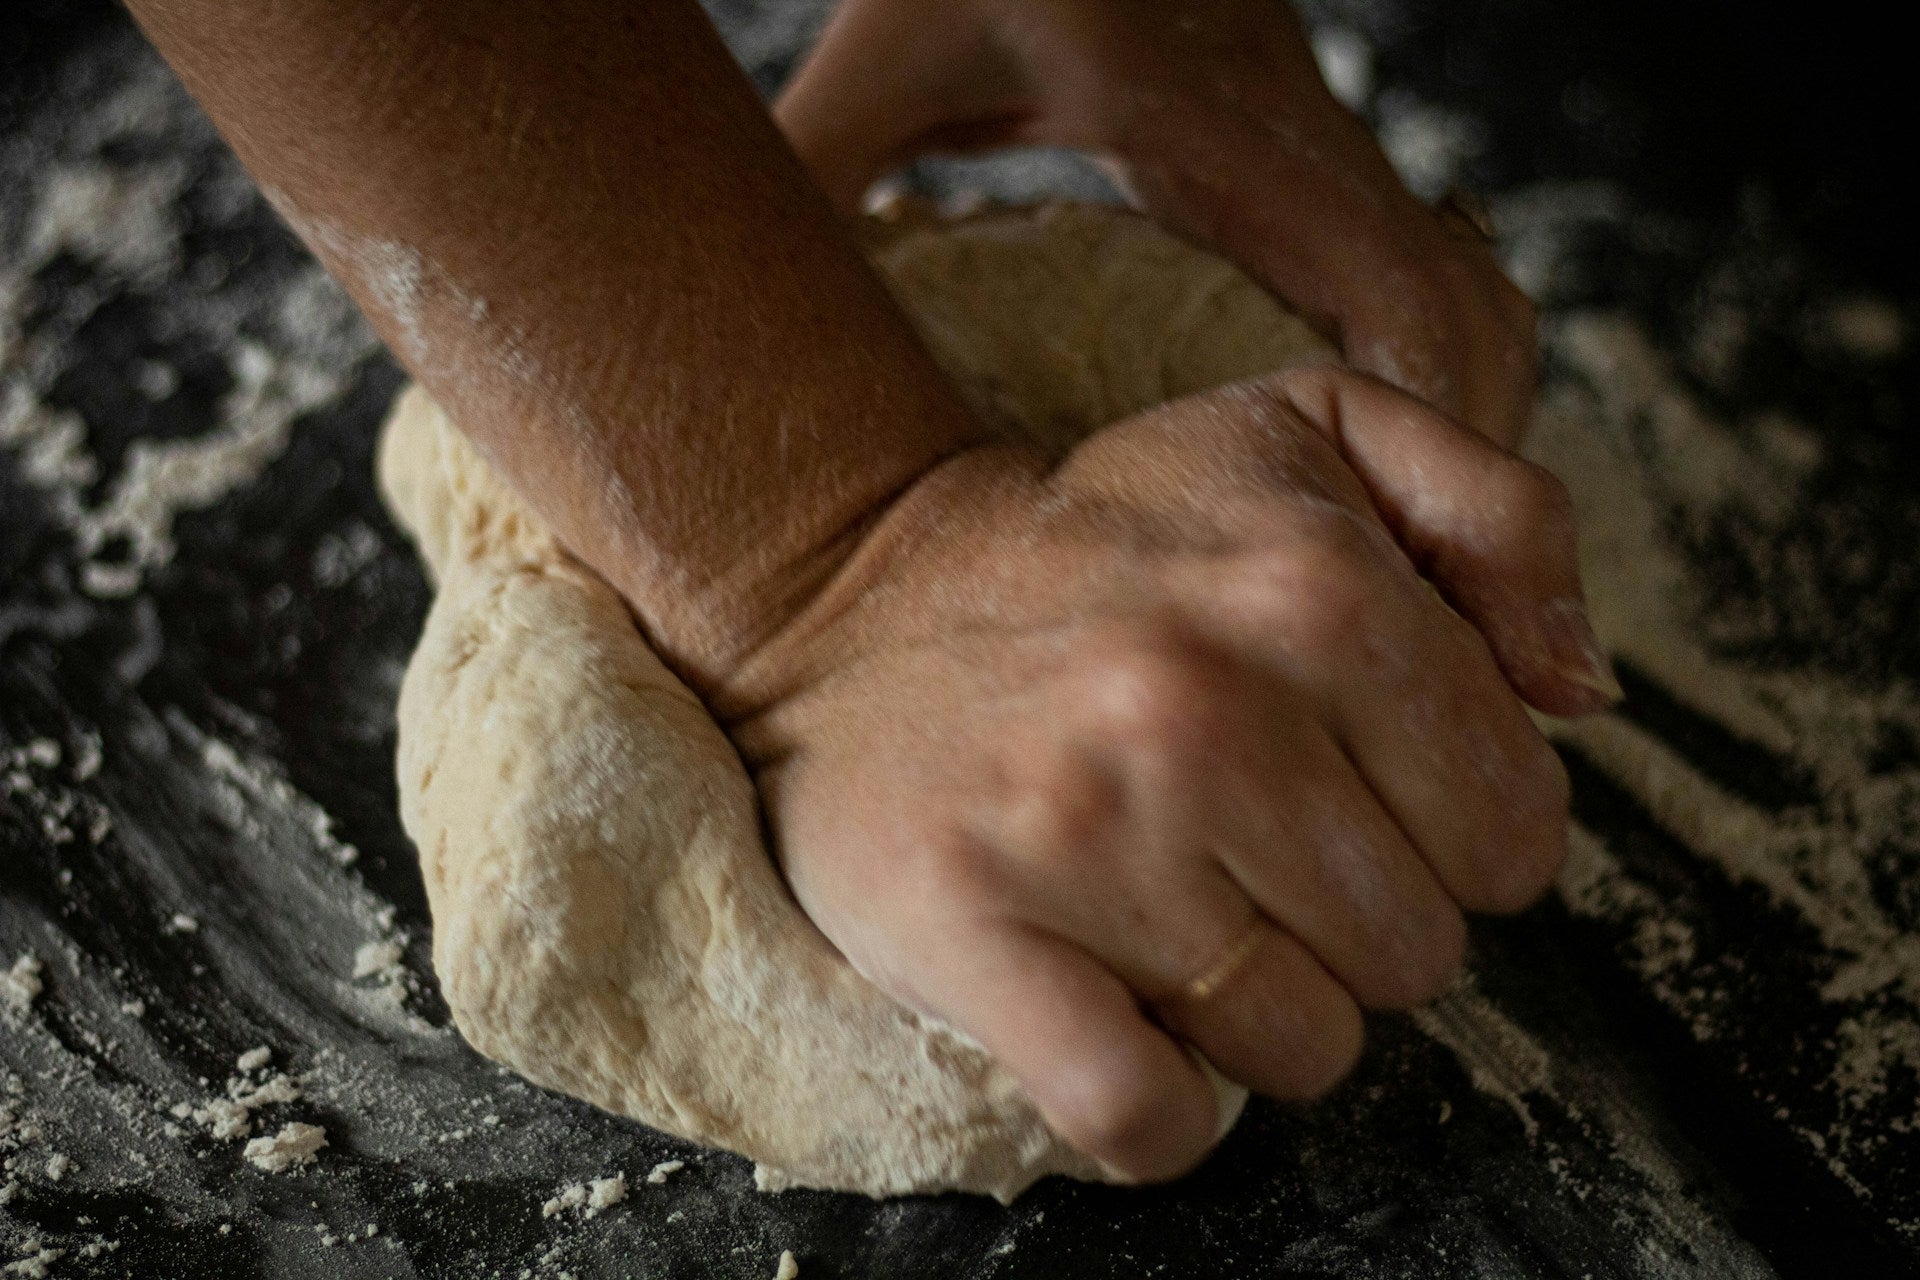
When kneading by hand, start by mixing your ingredients into a rough dough. Flour your countertop lightly to prevent sticking. Use the heel of your hand to push the dough away from you, then fold it back towards you. Rotate the dough a quarter turn and repeat the process.
Aim to knead for 6 to 8 minutes. Pay attention to the dough's texture; it should become smooth and elastic. If it’s too tacky, sprinkle in a little flour. You can also use a technique called "pinching," where you fold sections of the dough over itself repeatedly, which helps develop elasticity.
Using a Stand Mixer with a Dough Hook
If using a stand mixer, attach the dough hook and combine your ingredients in the bowl. Set the mixer to medium speed and knead for 4 to 5 minutes. This method greatly reduces the manual effort needed and allows for consistent dough texture.
As the mixer works, periodically stop and scrape down the sides of the bowl to incorporate all ingredients. You’ll know it’s ready when the dough starts pulling away from the sides of the bowl. The final result should be smooth and slightly tacky but not overly sticky.
Assessing Dough Elasticity
Regardless of your kneading method, assessing dough elasticity is crucial. The dough should stretch without tearing. A common technique is the "windowpane test." Take a small piece of dough and gently stretch it between your fingers. If it forms a thin, translucent membrane without breaking, it indicates sufficient gluten development.
If your dough fails this test, continue kneading until it meets the criteria. An elastic dough should bounce back when pressed lightly and not feel overly sticky. Remember, consistency in kneading times and techniques will significantly impact the texture of your pizza.
Remember that using premium ingredients like those found in Prepa Pizza dough can elevate your homemade pizzas to a professional level.
Optimizing Dough Development
To create the best pizza dough, understanding the critical variables in the dough development process is essential. You will need to focus on how proofing, fermentation, and temperature affect dough rise, providing the necessary environment for yeast activity.
Proofing and Fermentation
Proofing and fermentation are vital steps in dough development. During proofing, yeast consumes sugars and produces carbon dioxide, causing the dough to rise. This process typically takes about 1 to 2 hours, depending on the dough mixture's hydration and the yeast's activity level. Ensure your dough is covered with a damp cloth or plastic wrap to prevent it from drying out.
You’ll notice the dough becomes foamy and nearly doubles in size when properly proofed. For optimal results, consider fermenting your dough in the refrigerator for an extended period. Cold fermentation enhances flavor and texture, yielding a crust that is both chewy and flavorful.
Temperature's Effect on Rising
Temperature plays a critical role in the yeast's activity level. Ideally, the dough should be kept at a warm temperature between 75°F and 85°F (24°C to 29°C) during proofing. At these temperatures, yeast thrives, leading to a rapid and efficient rise.
Using a thermometer can help you monitor the dough's temperature accurately. If the dough becomes too warm, yeast activity may become overly aggressive, leading to over-proofing. Conversely, if it’s too cold, the rise can stall, delaying your pizza preparation.
Duration and Environment for Rising
The duration of rising depends on the dough's composition and environmental factors. Aim for a rise time of approximately 1 to 2 hours at room temperature, or longer if using cold fermentation.
For best results, choose a draft-free location with consistent warmth. Placing the dough in an oven with the light on creates a stable environment, improving the dough’s rise. If you’re working with Prepa Pizza, their premium quality dough is designed to optimize these factors, ensuring a reliable and quality pizza every time.
Shaping and Baking
Shaping your pizza correctly and using the right baking techniques are crucial for achieving the desired texture and flavor. Whether you prefer a thin crust or a chewy crust, proper shaping and baking ensure your pizza turns out perfectly every time.
Creating the Perfect Pizza Crust
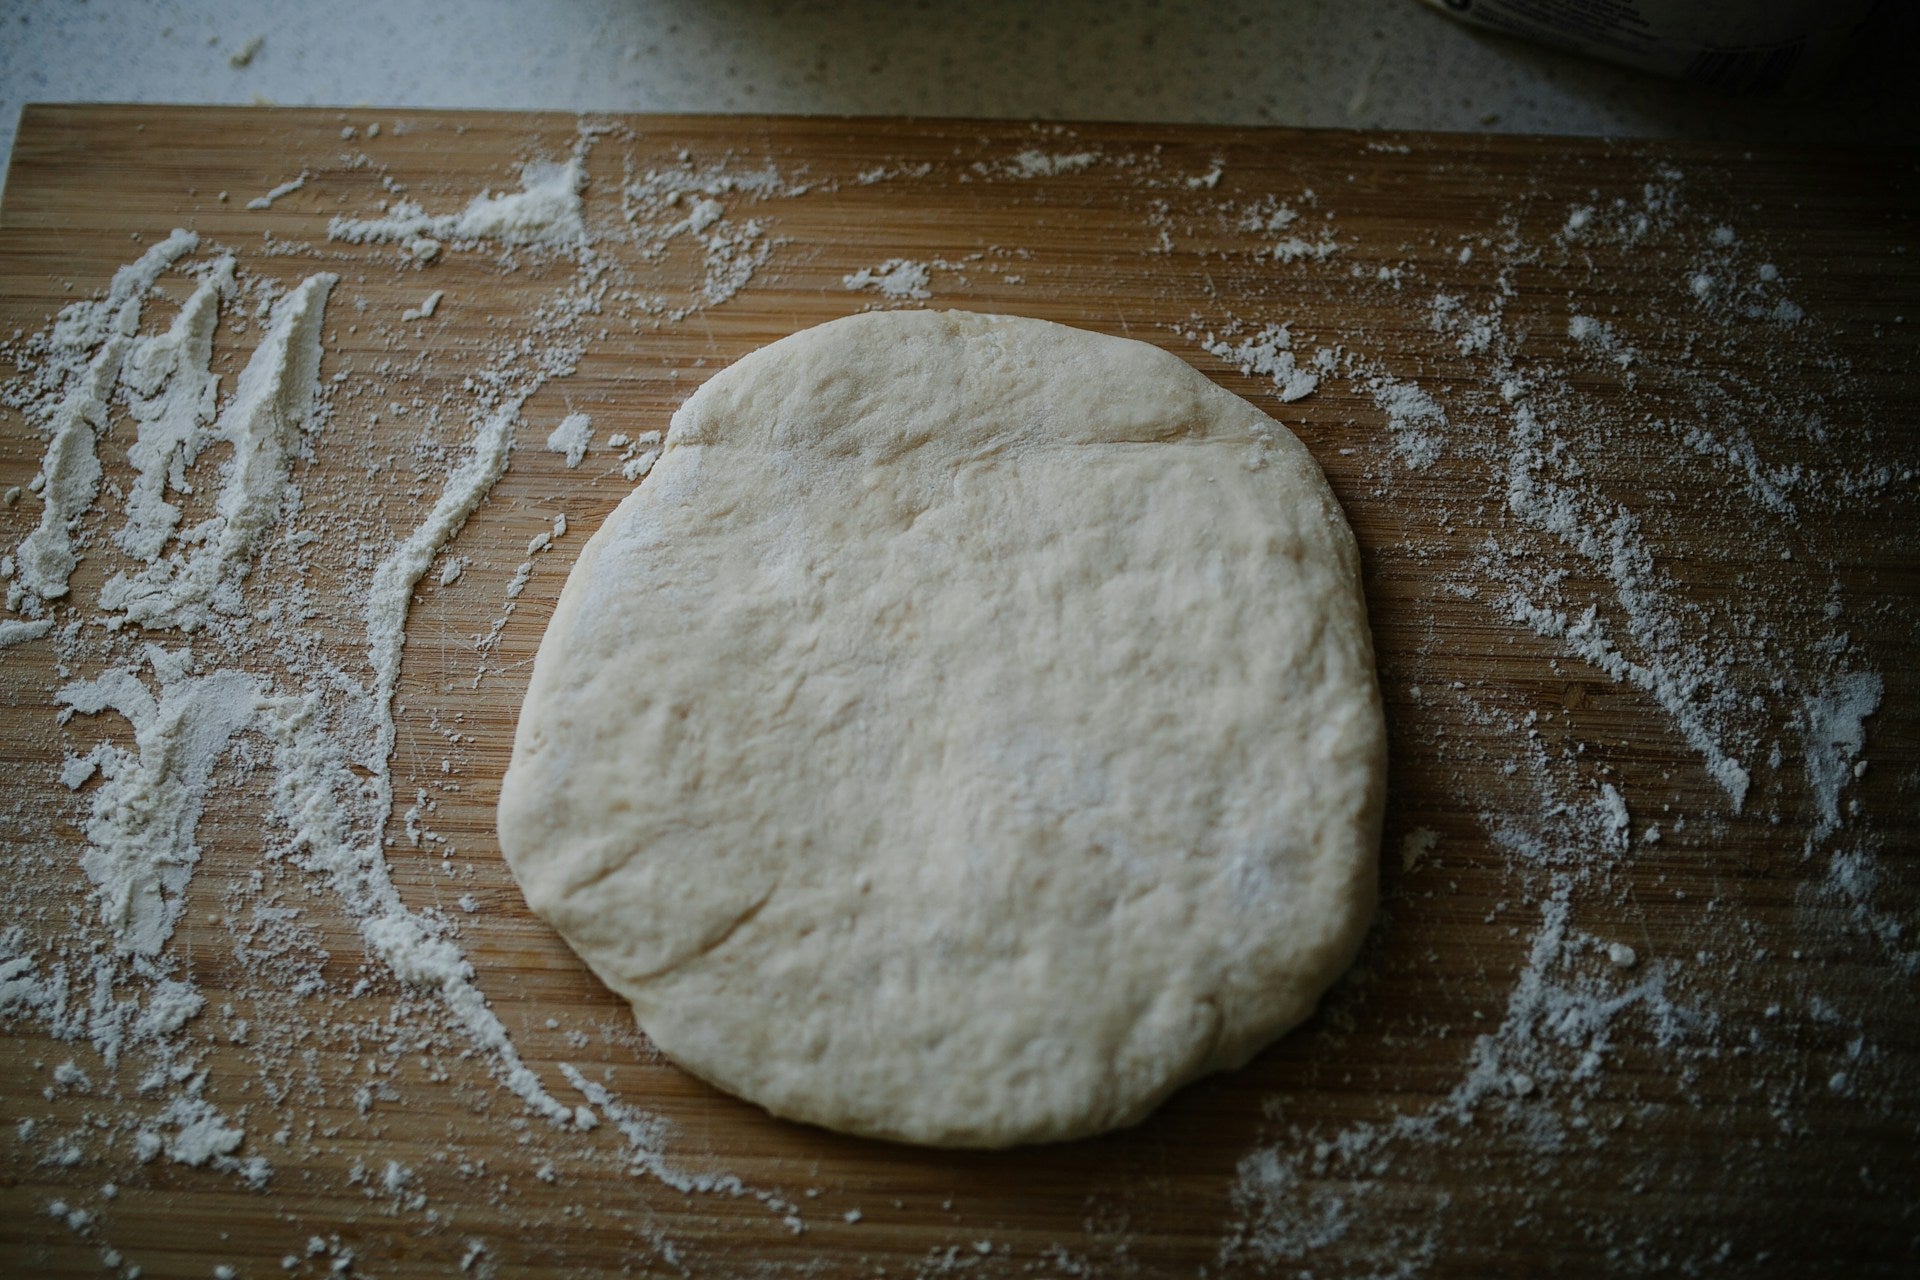
To shape your pizza, start with your Prepa Pizza dough. Allow it to rest, then flour your work surface. If you prefer a thin crust, use a rolling pin for even thickness. Aim for a diameter of about 12 inches.
For a chewy crust, gently stretch the dough with your hands, pushing from the center outwards. This technique preserves air bubbles, leading to a more delightful texture. Always keep the edges slightly thicker to form a crust.
Sprinkle cornmeal on your baking surface or peel. This helps the pizza slide off easily and adds a nice texture. After shaping, you can add toppings before baking, ensuring even distribution for balanced flavors.
Baking Tools and Techniques
Investing in a pizza stone or a baking sheet enhances your baking results. A pizza stone retains heat, resulting in a crispier crust. Preheat the stone in the oven to around 475°F (245°C) for best results.
If using a baking sheet, line it with parchment paper to prevent sticking. Transfer your shaped pizza onto the hot surface using a pizza peel.
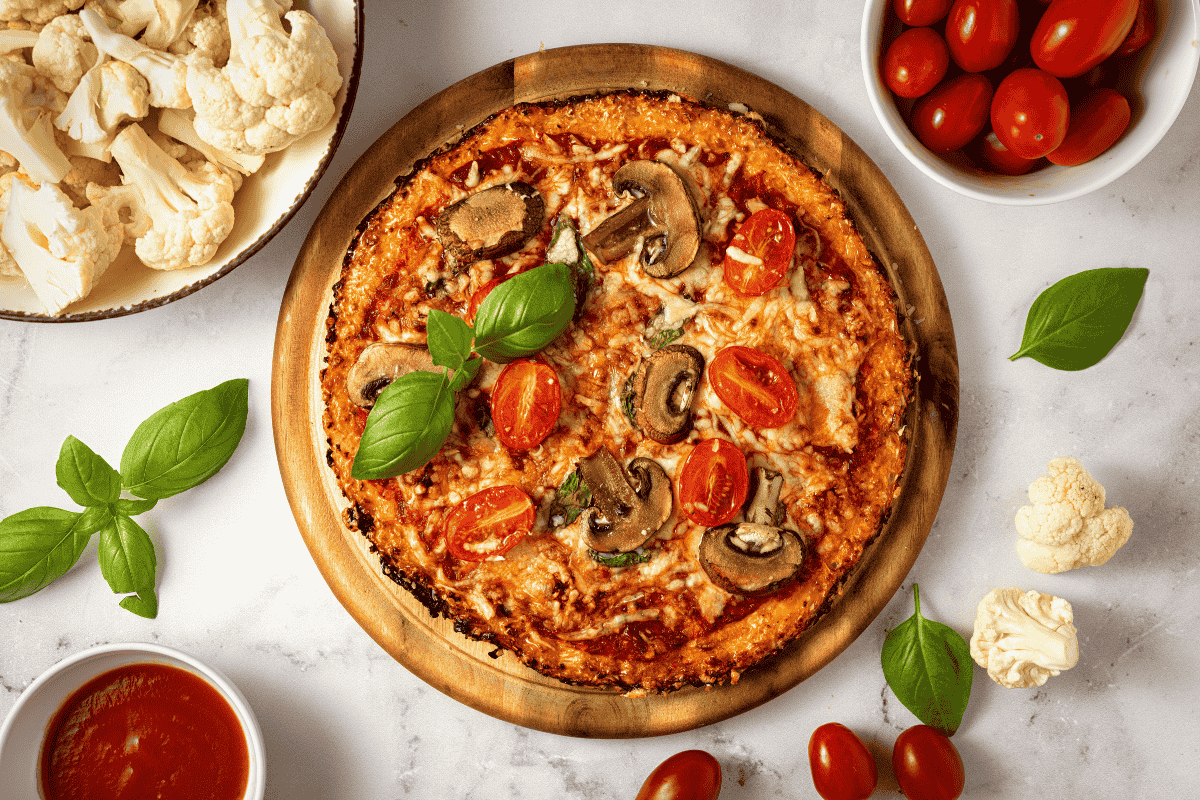
For garnishing, fresh basil or arugula can be added after baking for extra flavor. Cooking your pizza for about 10-12 minutes allows everything to meld beautifully while ensuring your crust is golden and crispy.
Final Touches for Homemade Pizza Excellence
To elevate your homemade pizza, focus on the final touches that enhance flavor and presentation. After kneading your homemade pizza dough, allow it to rest. This helps develop gluten and results in a better texture.
Toppings play a crucial role. Choose fresh, high-quality ingredients. Popular choices include:
- Tomato sauce: Spread evenly to avoid sogginess.
- Cheese: Use a blend of mozzarella for stretchiness and a sharper cheese for flavor.
- Vegetables: Pre-cook wetter vegetables to prevent a soggy crust.
When assembling your pizza, consider a light hand. Excessive toppings can weigh down your crust.
Baking Tips:
- Preheat your oven to its highest setting. A hotter oven results in a crispier crust.
- Use a pizza stone or steel for direct heat, which helps achieve that restaurant-quality base.
For a pizza for two, divide your dough accordingly. Smaller pizzas are easier to manage and allow for different topping combinations.
Finally, finish with a drizzle of olive oil or a sprinkle of fresh basil or arugula after baking. These simple additions can transform your homemade pizza into a gourmet experience.
With Prepa Pizza's premium quality dough, you ensure a solid foundation for any pizza recipe. Enjoy the process and unleash your creativity!
Frequently Asked Questions
Kneading pizza dough is essential for developing the right texture and structure. This section addresses common queries to help you achieve the best results whether you're using a KitchenAid mixer or kneading by hand.
How long should I knead pizza dough in a KitchenAid mixer for optimal texture?
For optimal texture, knead your pizza dough in a KitchenAid mixer for about 6 to 8 minutes. This time frame allows the gluten to develop properly, giving the dough a nice structure and chew.
Is there a recommended duration for kneading pizza dough by hand to achieve the best results?
When kneading by hand, aim for a duration of about 10 to 15 minutes. This longer period helps to ensure that the gluten is sufficiently developed, making the dough more elastic and easier to stretch.
What signs indicate that pizza dough has been sufficiently kneaded?
You can tell if your pizza dough is adequately kneaded when it becomes smooth, elastic, and passes the "windowpane test." This test involves stretching a small piece of dough; if it forms a thin, translucent membrane without tearing, it is ready.
Should pizza dough be kneaded before or after letting it rise, and why?
Knead your pizza dough before letting it rise. This process helps to develop the gluten structure, which is crucial for holding gas during fermentation, leading to a better rise and improved texture.
What are the differences in kneading time between regular and sourdough pizza dough?
Regular pizza dough typically requires 6 to 15 minutes of kneading, depending on the method. Sourdough may require a bit more time, often around 15 to 20 minutes, due to its unique hydration levels and fermentation process.
What is a good kneading technique for pizza dough to ensure consistency and quality?
A good technique involves using the heel of your hand to push the dough away, then folding it back over itself in a rhythmic motion. This method integrates air and promotes even gluten development, leading to consistent quality in your pizza dough.
Pizza Dough Online: The Best Options for Home Bakers
Why Does My Pizza Dough Tear? Understanding Common Issues and Solutions
Related Posts

Can You Over Proof Pizza Dough? Understanding the Effects and Solutions
Can You Make Pretzels from Pizza Dough? Tips for a Delicious Twist

Why Does My Pizza Dough Tear? Understanding Common Issues and Solutions

Pizza Dough Online: The Best Options for Home Bakers

Order Pizza Dough: The Easy Way to Prepare Your Perfect Pizza Base

Pizza Carbonara “Carbo” Toppings Recipe