Pizzaioli Class
Below You Will Find Our Masterclass
It's important to carefully review all the steps and give yourself ample time to complete them. If you have any questions, don't hesitate to reach out—we’re here to help!
The chat function (look for the “?” icon) is the quickest way to get in touch. Remember, the only bad question is the one you don’t ask.
Each section includes written instructions located next to or below (on mobile) the corresponding video. Some steps are harder to convey through text alone, which is why we’ve provided videos to guide you.
Keep in mind that some steps involve significant time gaps. While patience is key, this doesn’t mean you need to sit and wait—plan each step around your schedule, not the other way around.
Most importantly, have fun and be patient—great results come to those who take their time!
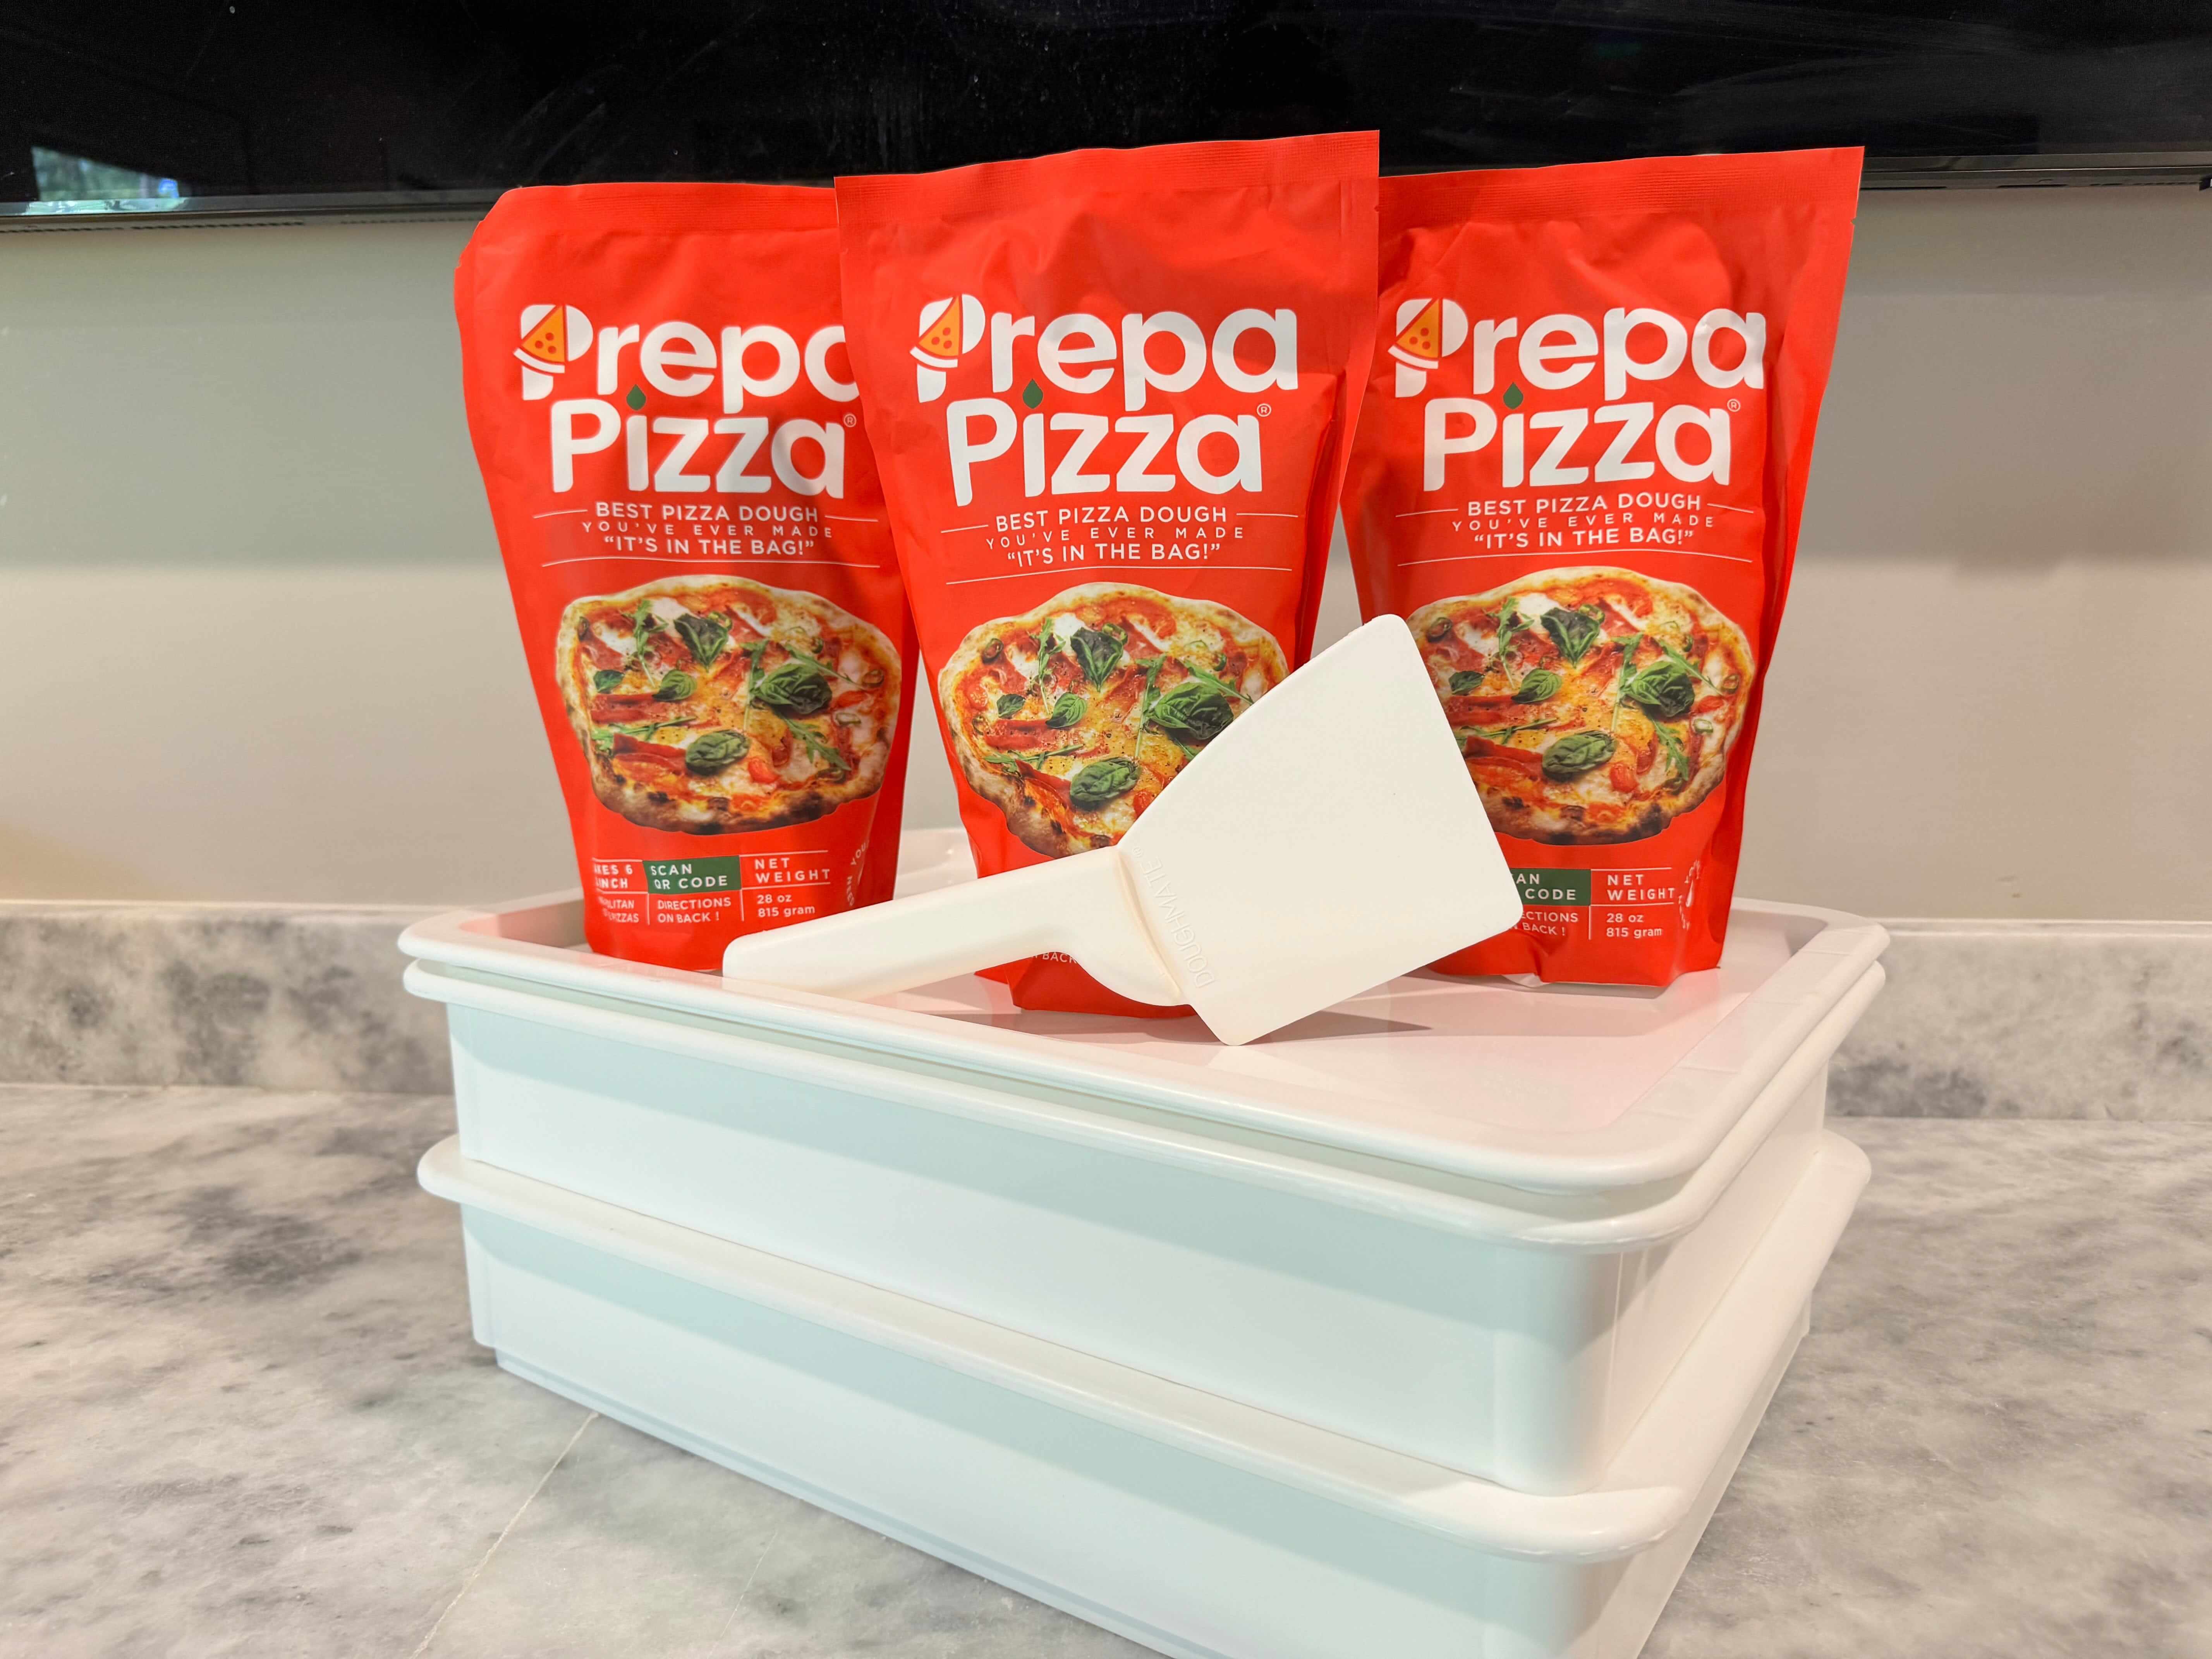
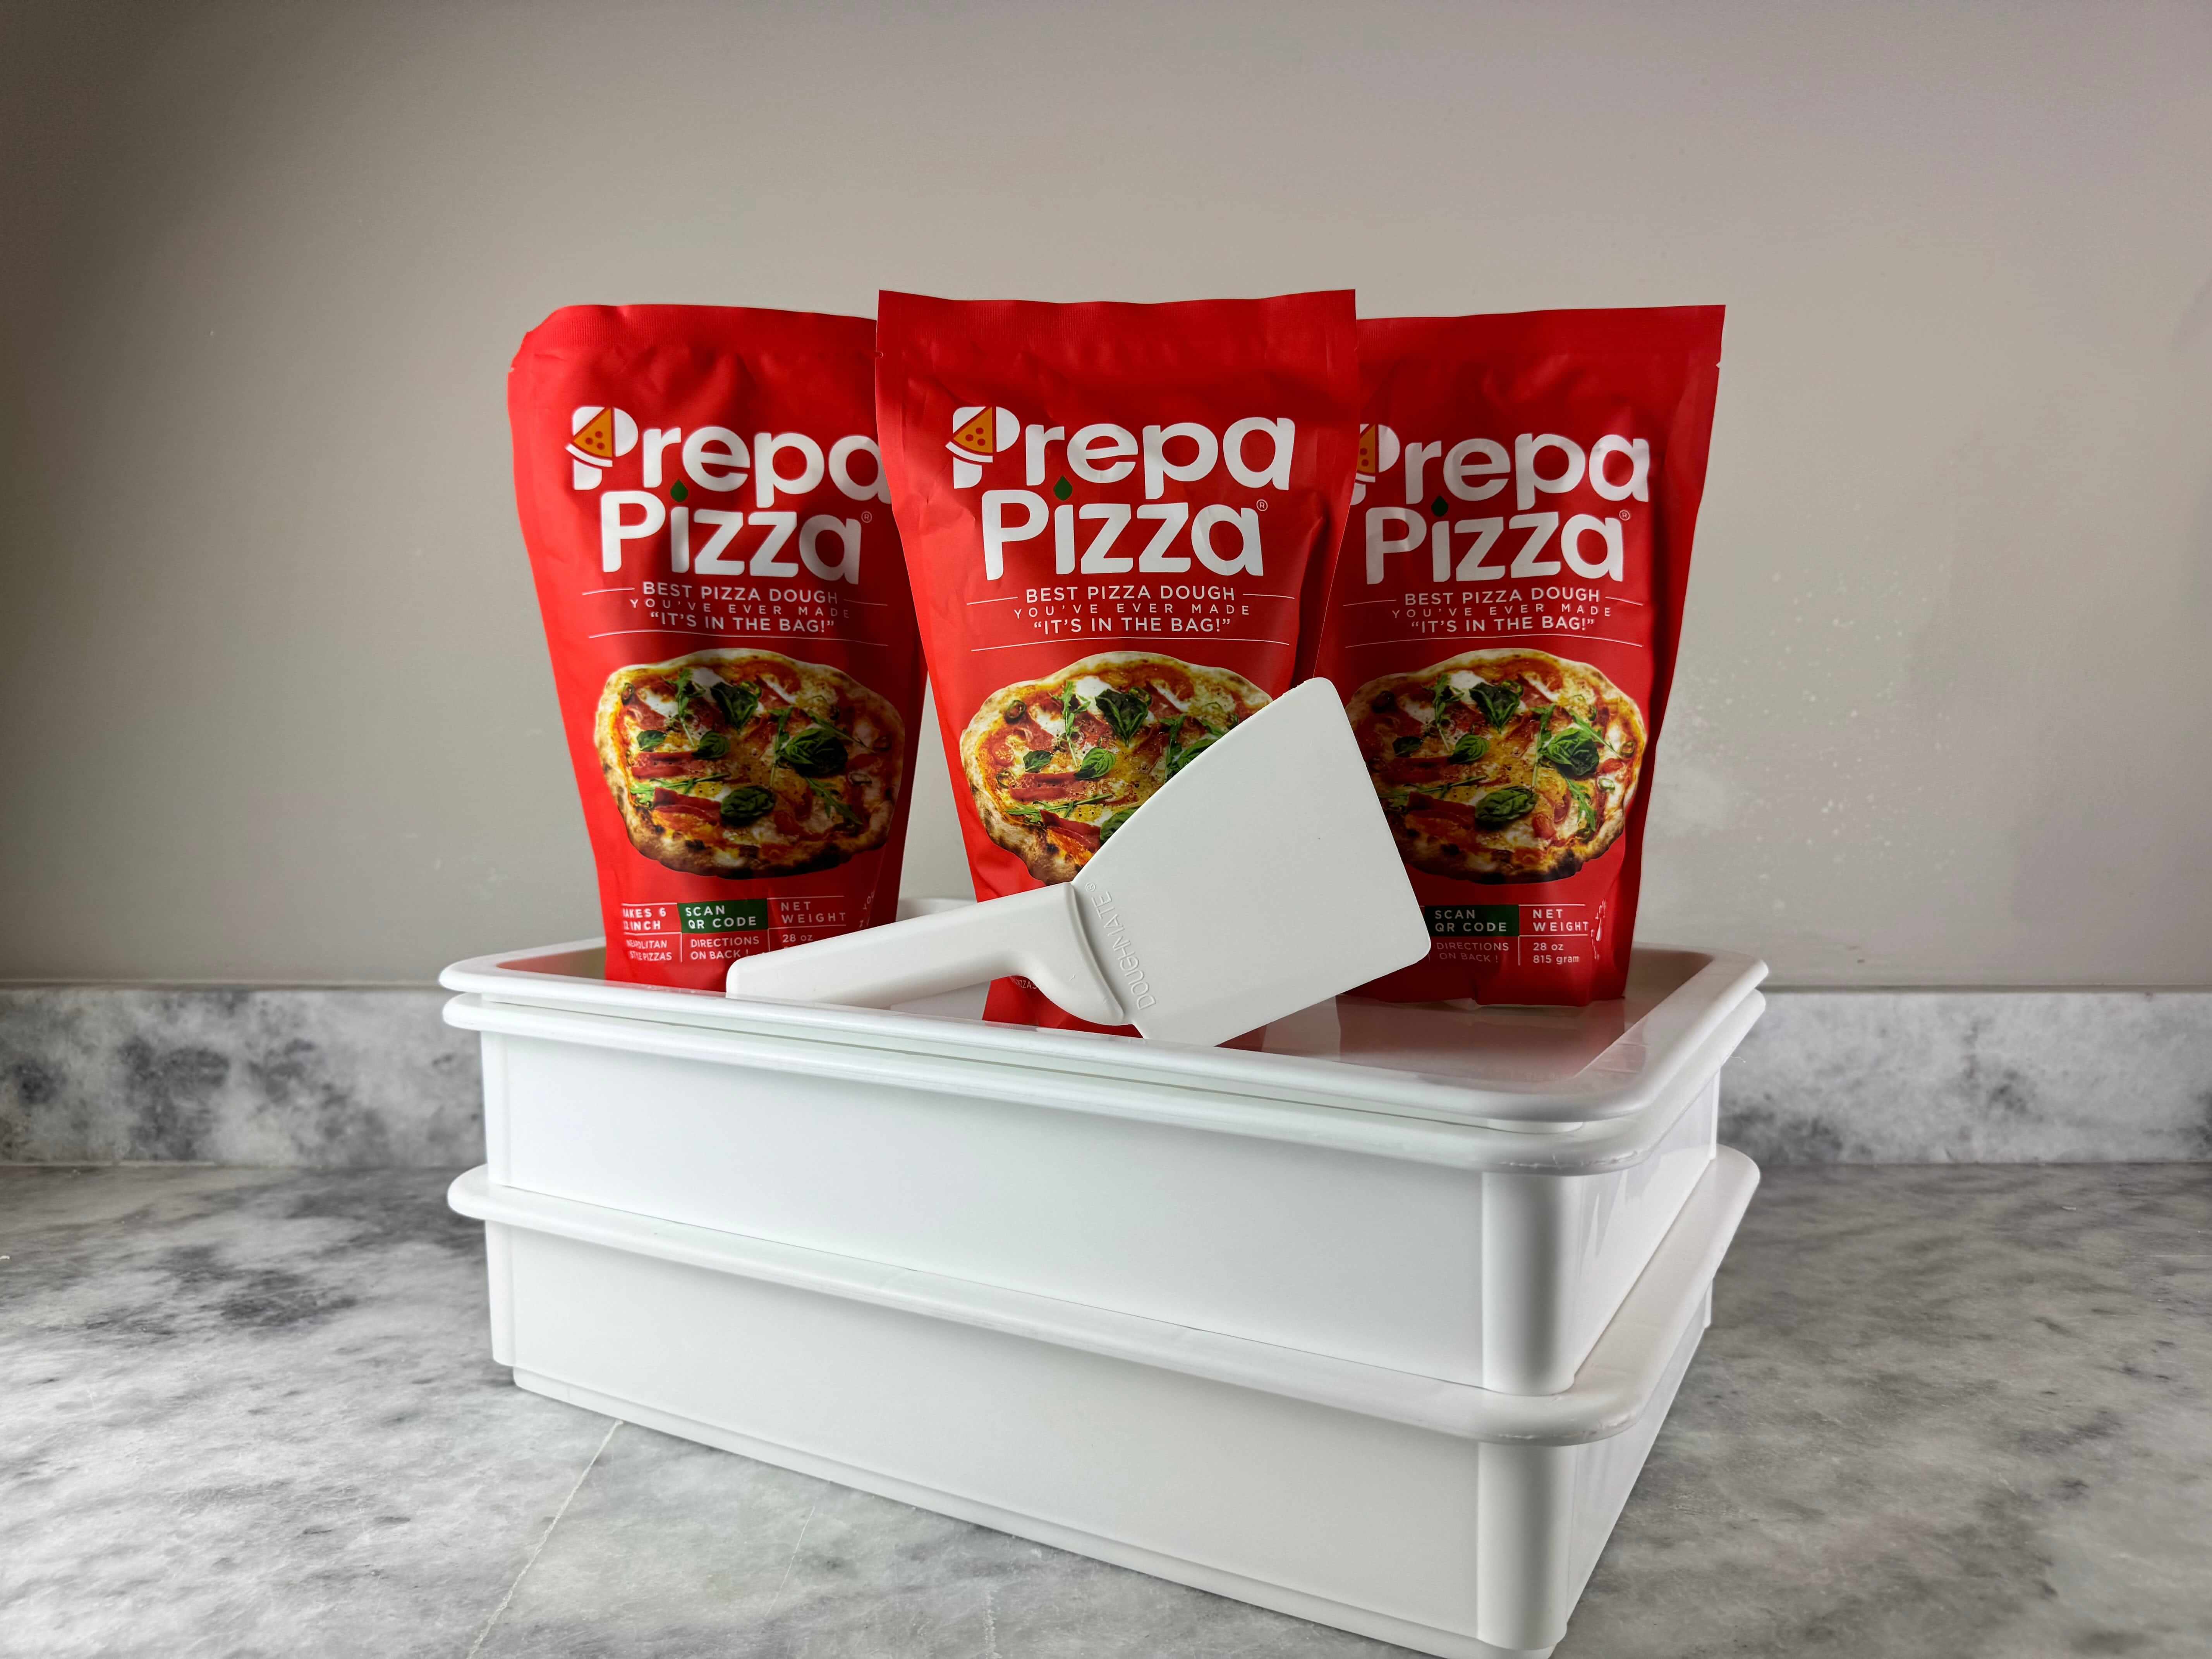
What's In The Bag
- OO Piza Flour
- Salt - (mixed in largest flour bag)
- Malt Powder - (mixed in largest flour bag)
- Honey
- Olive Oil
- Semolina
You can choose between making dough in the same day which the dough will need at least (6 hours of time) to develop.
Or the over night version which is spread over more time.
Remember the time you're actually working with the dough is short the rest of the time it is sitting around so go enjoy your day and come back to steps later.
Making The Poolish
You will need a bowl that is large enough for your dough to grow. In a large bowl, mix together
- Bag marked P
- Yeast packet
- Honey Packet
- 1 cup water (Cold Water Refrigerator ) - During Winter Months ( Cold From Tap)
Same Day (min time needed 6.5 hours) - Mix thoroughly until everything is well combined, then cover with plastic wrap and let set on the counter for at least 4 Hours. (During Summer Months - Place in the fridge for 20-30 mins after the 4 Hours to cool down.)
Overnight - Mix thoroughly until everything is well combined, then cover with plastic wrap and let set on the counter for at least 1 hour then place the covered bowl into the refrigerator overnight. Try to not go past 24 hours before moving on. (But if you do don't worry you can still move on to the next step. You just may come out with a less structure in the dough.)
Hand Mixing Your Dough
Add and mix 2/3 cups of (cold) water to the Poolish. Mix until the water becomes the color of milk.
Add the remaining mixed flour bag (unlabeled) from your dough kit (do not add the bag with the label "S").
The Remaining Large Flour Bag Contains:
- Salt - mixed in with flour
- Malt Powder - mixed in with flour
Next add in the Olive oil packet
(Do not add the bag labeled "S" for semolina this is used later when you are stretching your dough.)
Mix until you have a shaggy dough that is a little sticky but the mass will pull away from your hands. Cover with bowl for about 15-30 minutes.
(if you come back and the dough is hard to work with or very leave for another 30 minutes. Also you can put the dough in a bowl covered in the refrigerator to cool down some making it easier to work with. Maybe 15 to 30 will be enough.)
Using A Stand Mixer For Your Dough
Following the same steps as above you will be added the items listed to a mixer. You want to make sure not to over mix your dough so if you have a temperature gun or temp probe you can mix until you reach 23 degrees C (73.4 degrees F) once the dough is at that temperature you will move on to the next step which is to rest the dough. If you do not have a way to measure temperature follow the instructions in the video and leave the dough on the counter covered to rest before moving on.
Kneading & Slap And Fold Technique
Utilize the techniques shown in this video to help you smooth out the dough then rest for 1 hour before you ball up the dough.
Here's how to perform it:
- Prepare the Dough: After mixing your ingredients, you'll have a sticky, wet dough. Avoid adding more flour; instead, use this technique to develop strength.
- Position the Dough: On a clean, unfloured surface, place the dough in front of you.
- Lift and Slap: Slide your hands under the dough, lifting it with your thumbs on top. Raise it slightly, then slap the bottom edge onto the countertop.
- Stretch and Fold: As the dough sticks to the surface, stretch the upper part towards you and fold it over itself.
- Repeat: Continue this process—lifting, slapping, stretching, and folding. Initially, the dough will be sticky, but as you proceed, it will become smoother and more elastic, indicating gluten development.
This method incorporates air into the dough and builds structure without overworking it. With practice, the slap and fold technique becomes a rhythmic and efficient way to handle high-hydration doughs.
For more details on ways to knead, watch the above video.
Balling Your Dough
After allowing the dough to rest on the counter for an hour, uncover it and divide it into 4 to 6 equal portions.
To shape each portion into a smooth dough ball, gently stretch the edges and fold them into the center, creating a seam on the bottom. Rotate the dough and repeat this process until the top is smooth and taut. Once shaped, place each dough ball seam-side down on a clean tray or in your DoughMate proofing boxes, ensuring there's space between them to accommodate expansion.
If your tray is unclean or has residues that might affect the dough, consider lining it with parchment paper; however, avoid using parchment paper in DoughMate boxes. Cover the dough balls and let them proof at room temperature for at least 1 hour, or until they've doubled in size.
(As little as 30min to double in size but could take several hours so give yourself time.)
The Full Fermentation Process
Now let your dough rise and get ready to use it or block it in the fridge. For As Many As 2 Days Or You Can Freeze The Dough For Later Use.
The time for your dough to rise can vary depending on weather as little as 30 mins and in some cases longer. If you would like to help speed up this process in colder weather.
Place your covered try in your home oven <NOT TURNED ON> but with the light on which will create a nice warm environment for the dough to grow.
Make The Perfect Sauce!
You Will Neeed:
- San Marzano Tomatoes
- Olive Oil
- Sea Salt
- Basil
Using a mesh strainer squeeze the water out of the the tomatoes into the sink over the strainer. The goal is to get rid of the excess water and not transfer that water to your pizza. Once finished put the tomatoes and sauce in the can into a bowl. Add some olive oil Basil and Sea Salt to taste. Remember less is more so make sure to taste as you go.
Home Oven Cooking Prep
In This video we show you how to bake in a home oven utilizing a sheet pan that anyone has in their home. You want to pre heat your oven to 550 or the max temperature it will go.
Ensure Dough Is Ready To Bake
It is important to make sure that your dough is at the right baking temperature. Cold dough will not rise properly. So if you have blocked it in the refrigerator make sure to take it out at least 1 hour prior to cooking.
Also if you used parchment paper as noted in the video. You will use the semolina to get under the dough and release it from the sheet. There will never be a time that it would not stick to the pan, paper, or dough box so the semolina is used to help you.
Let's Make A Pizza!
You will need the packet marked ‘S’ for Semolina. Pour packet of Semolina out on counter . Grab one dough ball using semolina to help remove from the tray. Dust the top of your dough ball with Semolina and then place the bottom of your dough ball on top of the pile of semolina on your counter - this way all sides of the dough ball are coated with semolina.
With your fingertips, start at the center of dough ball and work your way to the edges shaping your pizza crust; you are working the air in to the edge to form a crust.
Flip over and repeat; massaging dough with fingertips, working air to the crust. Flip over for a final time and start to pat down the center gently.
From here you can stretch your dough – Easiest way is to pick up your dough from one edge, so that the rest hangs down (letting gravity stretch the dough for you) and rotate the edge through your hands turning the stretched dough in a circle
*Please look at videos if you need more details or various ways to stretch your dough.*
Place stretched dough on parchment paper and proceed with adding sauce.
Cooking Your Pizza -*Check out video #10 for more details*
BAKING SHEET:
Transfer dough with parchment paper onto your baking sheet. Layer with a thin layer of sauce.
Place in oven -keep the parchment paper under the dough for now. You are looking for a golden crust, it’s just starting to get crispy and the sauce is drying up a little
Remove pizza from oven and remove parchment paper. Add your cheeses and remaining toppings; return to oven; watch it closely here as time will vary for different ovens.
*you are looking for the cheese to have melted and start to bubble and crust to have some browning
Remove from Oven, Let Cool, and ENJOY!
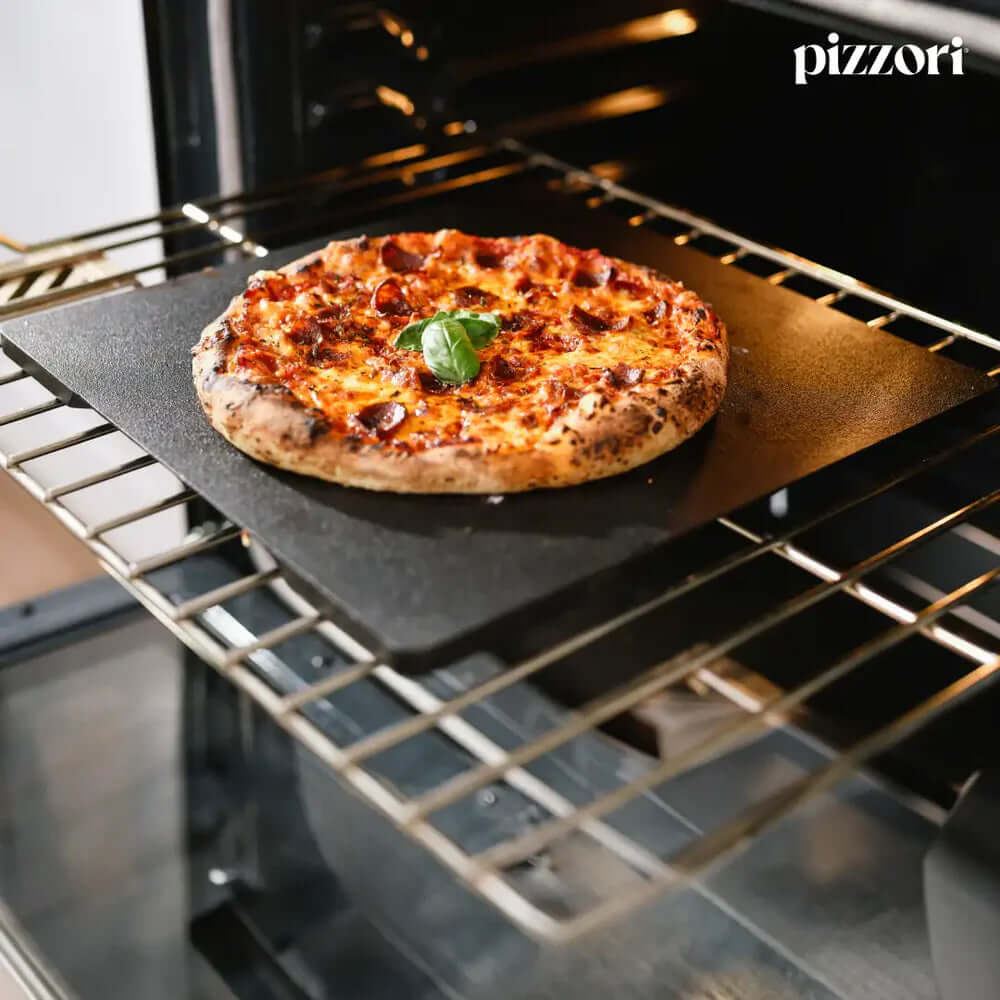
PIZZA STONE:
Place Pizza Stone/Steel in the oven and let it heat up with the oven. Use the parchment paper to transfer dough to the pizza stone/steel
Follow same steps for BAKING SHEET – EXCEPT adding on the backing sheet. You can use the backing sheet to transfer the pizza into and also from the oven to add your cheese and topping.
TroubleShooting Dough Making
If you're having some issues or think you might here are some helpful tips on common issues that people have and how to overcome them easily.
Product's